Green Enchiladas with Chicken
A Mouthwatering Treat Awaits!
Ever craved something that wraps you in a warm tortilla hug, topped with gooey cheese and bright green tomatillo sauce? Green Enchiladas with Chicken hit all the right notes: quick, delicious, and incredibly satisfying. Whether it’s a weeknight dinner or a festive gathering, these enchiladas deliver flavor without the fuss. Trust me, they’re about to become your new kitchen superstar!
Why Make This Recipe
What’s not to love about Green Enchiladas with Chicken? Here are a few reasons you’ll want to whip these up:
- Easy cleanup: One pan is all you need! Less time in the kitchen means more time for Netflix binges.
- Affordable: With budget-friendly ingredients, you won’t have to break the bank to please your taste buds.
- Family-friendly: Even the pickiest eaters will fall in love with these cheesy delights. Dinner triumph!
Ingredients
You don’t need fancy stuff — just these basics!
- 2 cups cooked shredded chicken
- 8 corn or flour tortillas
- 2 cups green tomatillo sauce
- 1 cup shredded cheese (cheddar or Monterey Jack)
- 1/4 cup fresh cilantro, chopped
- Salt and pepper to taste
- Olive oil (for greasing)
Directions
Ready to get cooking? Let’s dive into this deliciousness!
- Preheat the oven to 375°F (190°C).
- In a bowl, mix shredded chicken with salt, pepper, and a portion of the tomatillo sauce.
- Take each tortilla and fill it with the chicken mixture, rolling them up tightly.
- Place the rolled tortillas in a greased baking dish, seam side down.
- Pour the remaining tomatillo sauce over the enchiladas and sprinkle cheese on top.
- Bake for 20-25 minutes until the cheese is melted and bubbly.
- Remove from oven and garnish with fresh cilantro before serving.
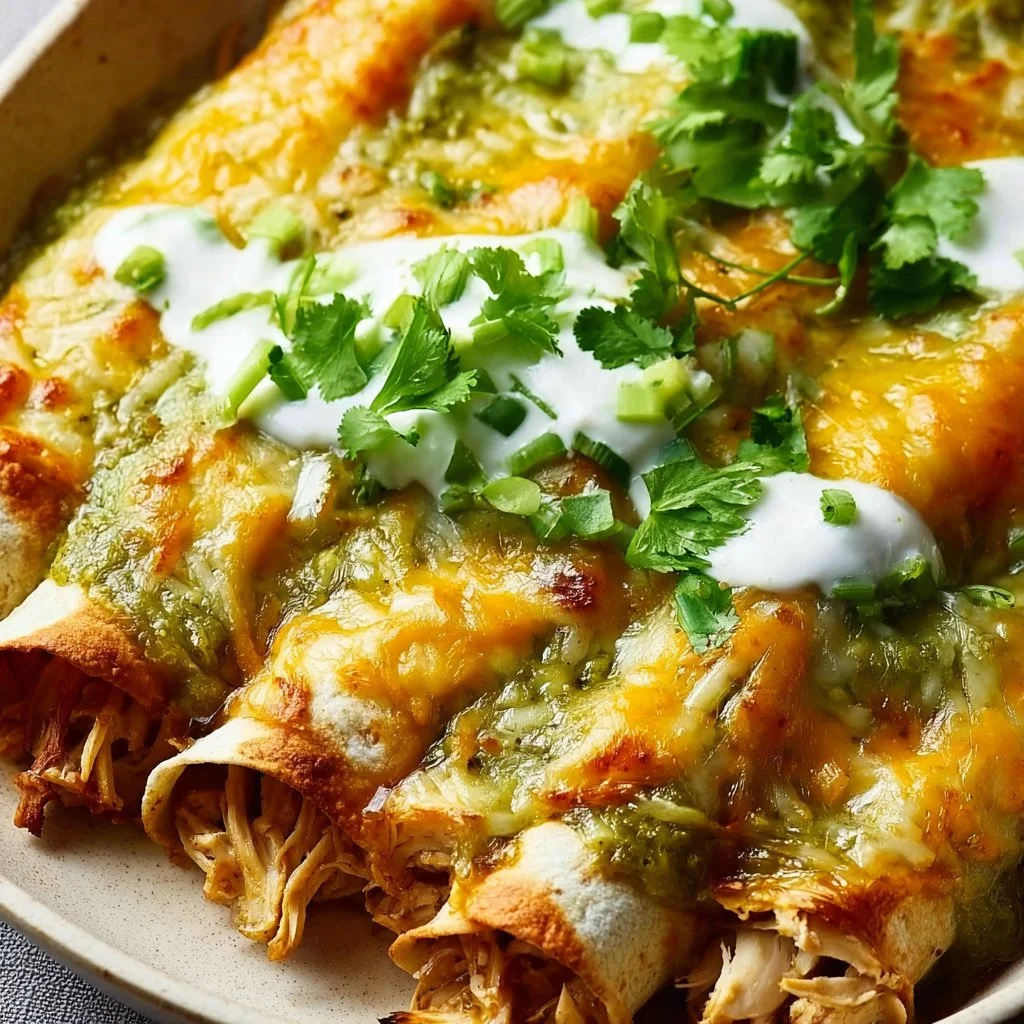
How to Make Green Enchiladas with Chicken (Overview)
Making these enchiladas is as easy as slapping on your favorite playlist and cooking! Start by preheating the oven and mixing up the filling. Feel free to channel your inner chef while assembling them. Just remember, you want to roll them up tightly for the best results. The real magic happens when that cheese melts into bubbly goodness. Pro tip: Don’t skimp on the cheese—you won’t regret it!
How to Serve Green Enchiladas with Chicken
When it comes to serving, the sky’s the limit! Serve these enchiladas hot from the oven and watch them glisten under that melted cheese. Pair with:
- Sour cream or Greek yogurt for a tangy contrast.
- A fresh side of guacamole or Mexican rice for vibrant color and flavor.
- A sprinkle of lime juice or extra cilantro just before digging in for a burst of freshness.
Imagine slicing into a warm enchilada, the aroma wafting through the room, beckoning everyone to the table—now that’s dinner-winning!
How to Store Green Enchiladas with Chicken
Got leftovers? Lucky you! These enchiladas keep well in the fridge for about 3-5 days. Pop them in an airtight container and store away. If you want to freeze them, wrap individual servings in plastic wrap and place them in a freezer-safe bag—up to 3 months. Reheat them in the oven to restore that delightful cheese melt, or use a microwave if you’re in a hurry.
Tips to Make Green Enchiladas with Chicken
Want to elevate your enchilada game? Here are some quick insider tips:
- Cook your chicken ahead of time—makes assembly a breeze!
- Try grilling or roasting your tortillas lightly for added flavor.
- Swap in black beans or veggies for a heartier vegetarian option.
- Add spices like cumin or chili powder to the chicken mix for an extra kick.
Variations
Feeling adventurous? Here are a few twists to try:
- Vegan? Substitute shredded chicken with jackfruit or mushrooms.
- For a spicy flair, toss in jalapeños or chipotle sauce into the tomatillo mixture.
- Switch up the sauces—use red enchilada sauce for a different flavor profile.
FAQs
Can I use store-bought chicken?
Absolutely! Rotisserie chicken works like a charm for speedy prep.
Can I make these enchiladas ahead of time?
Yes! Assemble them a day in advance and bake them when you’re ready to serve.
Can I freeze the enchiladas after baking?
Yes, but they’ll keep their best texture if you freeze them before baking.
Now that you’re armed with this delicious recipe, it’s time to make some magic in the kitchen! Enjoy every cheesy bite of these Green Enchiladas with Chicken.
📌 Pin this recipe for your next cozy dinner night!
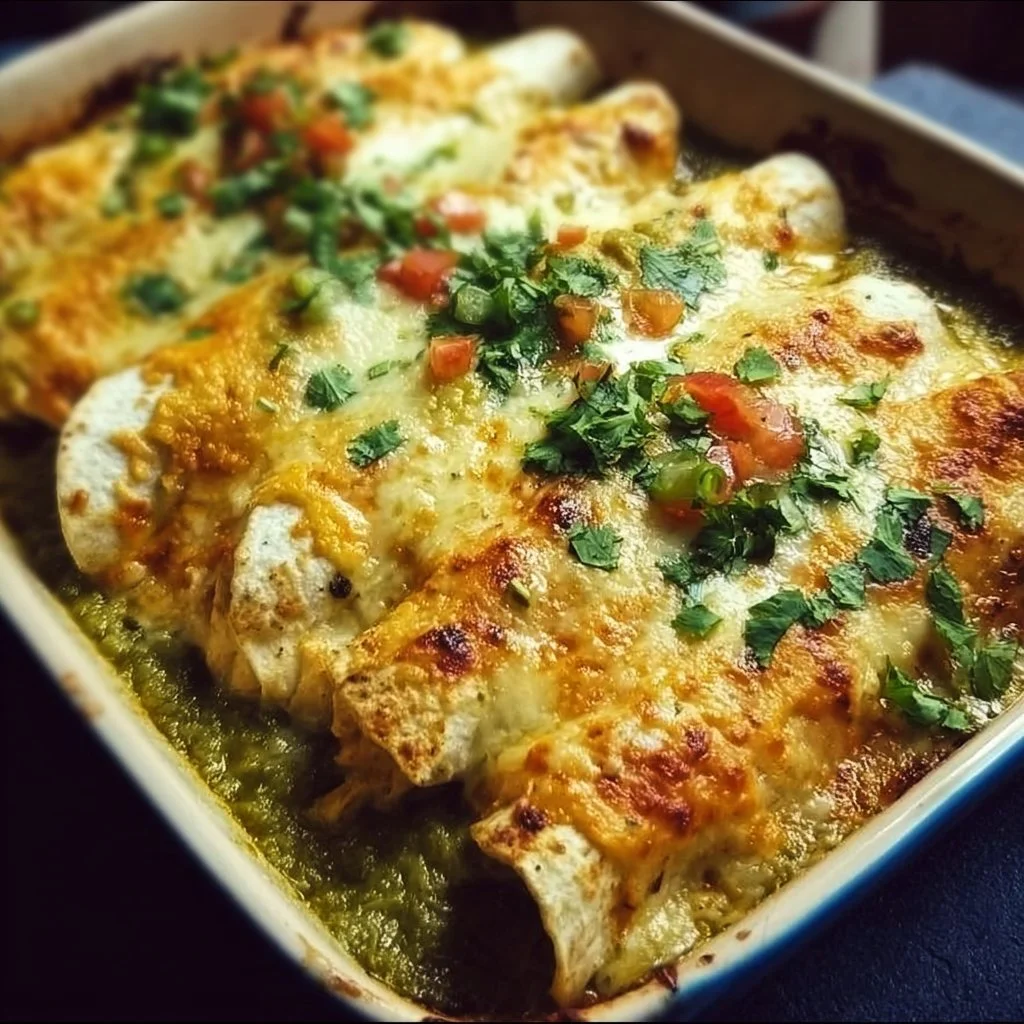
Green Enchiladas with Chicken
Ingredients
Method
- Preheat the oven to 375°F (190°C).
- In a bowl, mix shredded chicken with salt, pepper, and a portion of the tomatillo sauce.
- Take each tortilla and fill it with the chicken mixture, rolling them up tightly.
- Place the rolled tortillas in a greased baking dish, seam side down.
- Pour the remaining tomatillo sauce over the enchiladas and sprinkle cheese on top.
- Bake for 20-25 minutes until the cheese is melted and bubbly.
- Remove from oven and garnish with fresh cilantro before serving.