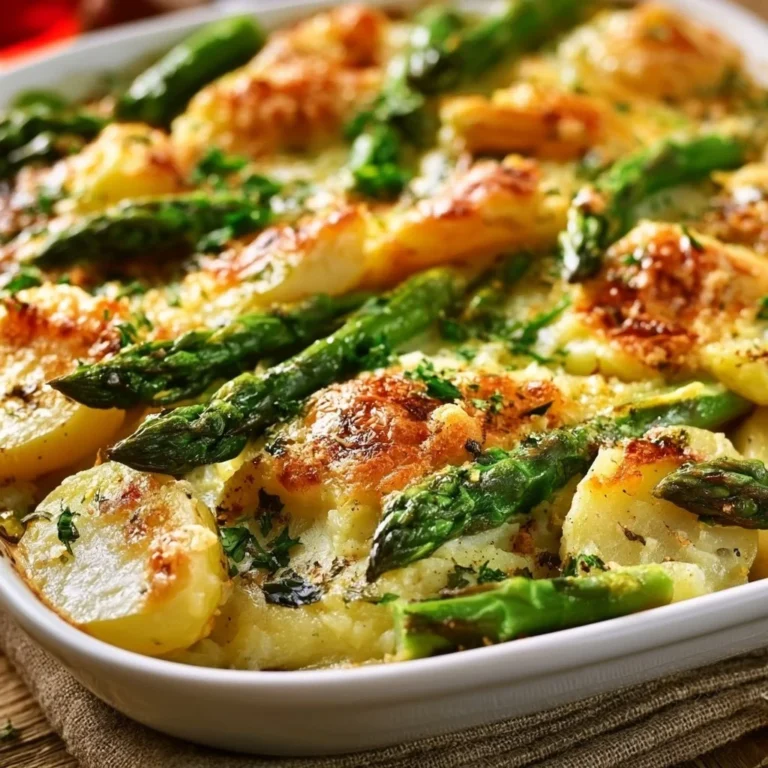
Hawaiian Ham and Cheese Sliders
Sizzling, Cheesy Goodness Awaits!
Picture this: warm, fluffy Hawaiian rolls stuffed with layers of savory ham and gooey cheese, all drizzled with a mouthwatering butter blend. Are you drooling yet? Hawaiian Ham and Cheese Sliders are a quick, delicious snack or meal that will have you and your friends begging for seconds. Easy to make and even easier to devour, these sliders are bound to become your new favorite go-to dish!
Why Make This Recipe
Why struggle with complicated meals when you can whip up these sliders in no time? Here’s why they’re a hit:
- Simple Cleanup: One baking dish? Yes, please! Less mess means more time to enjoy your tasty treat.
- Family-Friendly: Kids and adults alike can’t resist these melted cheese beauties. They’re perfect for everything from family dinners to game nights.
- Versatile and Affordable: A quick trip to the store can stock your pantry with everything you need to satisfy those slider cravings without breaking the bank (or your diet, if that’s a thing!).
Ingredients
You don’t need fancy stuff — just these basics! Grab:
- 12 Hawaiian rolls
- 12 slices of ham
- 12 slices of cheese (Swiss or cheddar)
- 1/2 cup unsalted butter, melted
- 2 tablespoons Dijon mustard
- 1 tablespoon poppy seeds
- 1 tablespoon brown sugar
- 1/2 teaspoon garlic powder
Directions
Ready to get cooking? Follow these easy steps:
- Preheat your oven to 350°F (175°C).
- In a small bowl, mix together the melted butter, Dijon mustard, poppy seeds, brown sugar, and garlic powder.
- Slice the Hawaiian rolls in half horizontally and place the bottom halves in a baking dish.
- Layer the ham and cheese on the bottom halves of the rolls.
- Place the top halves of the rolls back on.
- Brush the butter mixture evenly over the top of the rolls.
- Cover the baking dish with aluminum foil and bake for 15 minutes.
- Remove the foil and bake for an additional 10 minutes, or until the tops are golden brown and the cheese is melted.
- Serve warm and enjoy!

How to Make Hawaiian Ham and Cheese Sliders (Overview)
Making these sliders is a breeze! Start by preparing your oven; we can’t have them getting too cozy in there. Whisk together your butter mixture like a pro — don’t skimp on the garlic powder; it adds that extra oomph you didn’t know you needed. Then, assemble the rolls and pop them in the oven – it’s that easy.
Pro Tip: Make sure to brush that buttery goodness all over the tops — it helps create a irresistibly crispy crust. Yum!
How to Serve Hawaiian Ham and Cheese Sliders
These sliders shine on their own, but why not turn up the flavor dial? Serve them with a side of crispy potato chips for crunch, or whip up a light salad for a refreshing contrast. You could even place them alongside a tangy dipping sauce. Just imagine the aroma wafting from your oven and the delightful crunch as you bite into that cheesy goodness.
How to Store Hawaiian Ham and Cheese Sliders
These sliders keep well in the fridge for about 3 days. Just wrap them up tight to avoid sogginess. If you want to enjoy them later, they also freeze beautifully! Just remember, when you’re ready to reheat, pop them back in the oven to get that crispy top back. You won’t want to lose that fabulous texture!
Tips to Make Hawaiian Ham and Cheese Sliders
Here are a few insider tricks to make sure your sliders turn out awesome:
- Don’t skip the foil: Covering the sliders helps the cheese melt perfectly without burning.
- Try different cheeses: Mix it up! Provolone or pepper jack can add a fun kick.
- Add veggies: Toss in some spinach or roasted peppers for a pop of color and nutrition.
Variation
Want to spice things up? Go for turkey instead of ham for a leaner option, or throw in some jalapeños for a spicy twist. Feeling adventurous? Try swapping the rolls for pretzel buns for an indulgent treat.
FAQs
Can I make these sliders ahead of time?
Absolutely! You can assemble them a few hours in advance and pop them in the oven right before serving.
What’s the best way to reheat them?
Oven time is key! Preheat your oven to 350°F and bake until warmed through, usually about 10-15 minutes.
Can I freeze Hawaiian Ham and Cheese Sliders?
Yes, indeed! Just wrap them up individually, and they can keep for about 1-2 months in the freezer.
📌 Pin this recipe for your next cozy dinner night!

Hawaiian Ham and Cheese Sliders
Ingredients
Method
- Preheat your oven to 350°F (175°C).
- In a small bowl, mix together the melted butter, Dijon mustard, poppy seeds, brown sugar, and garlic powder.
- Slice the Hawaiian rolls in half horizontally and place the bottom halves in a baking dish.
- Layer the ham and cheese on the bottom halves of the rolls.
- Place the top halves of the rolls back on.
- Brush the butter mixture evenly over the top of the rolls.
- Cover the baking dish with aluminum foil and bake for 15 minutes.
- Remove the foil and bake for an additional 10 minutes, or until the tops are golden brown and the cheese is melted.
- Serve warm and enjoy!