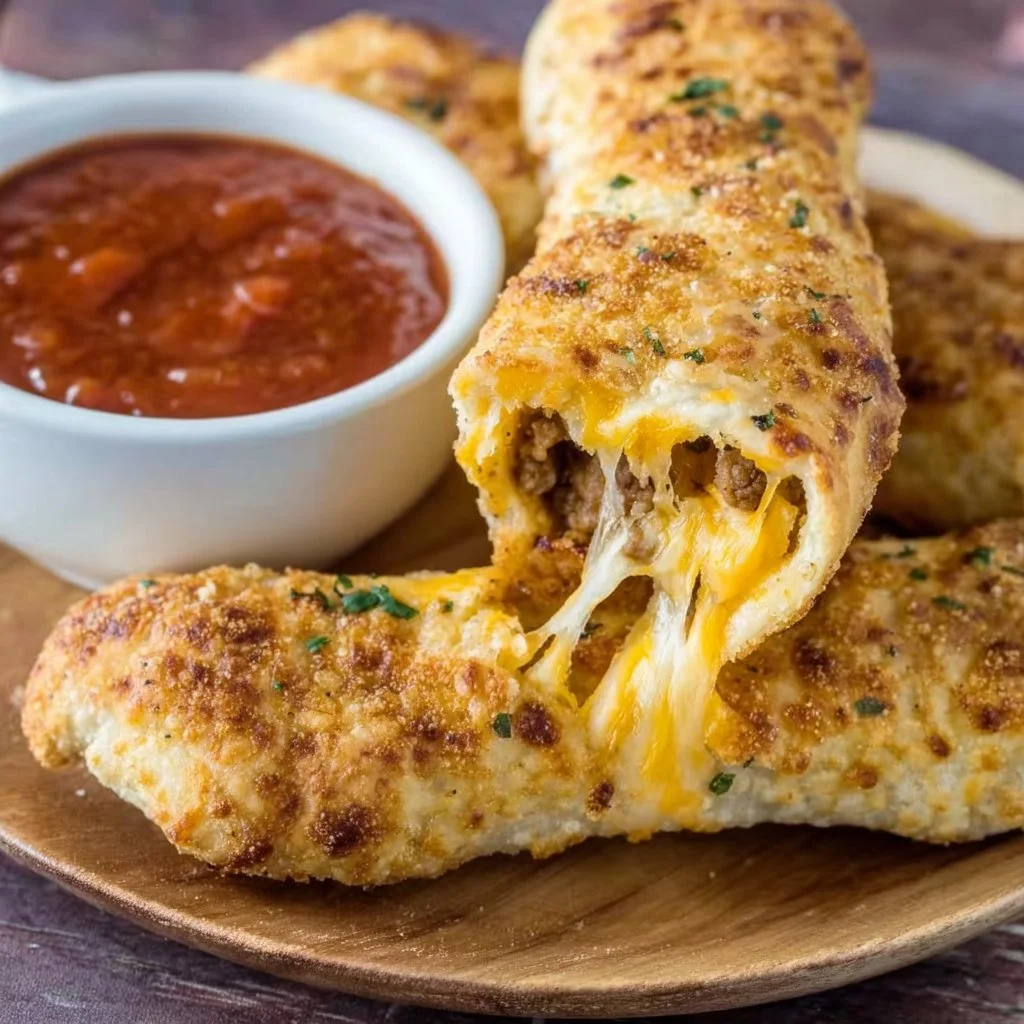
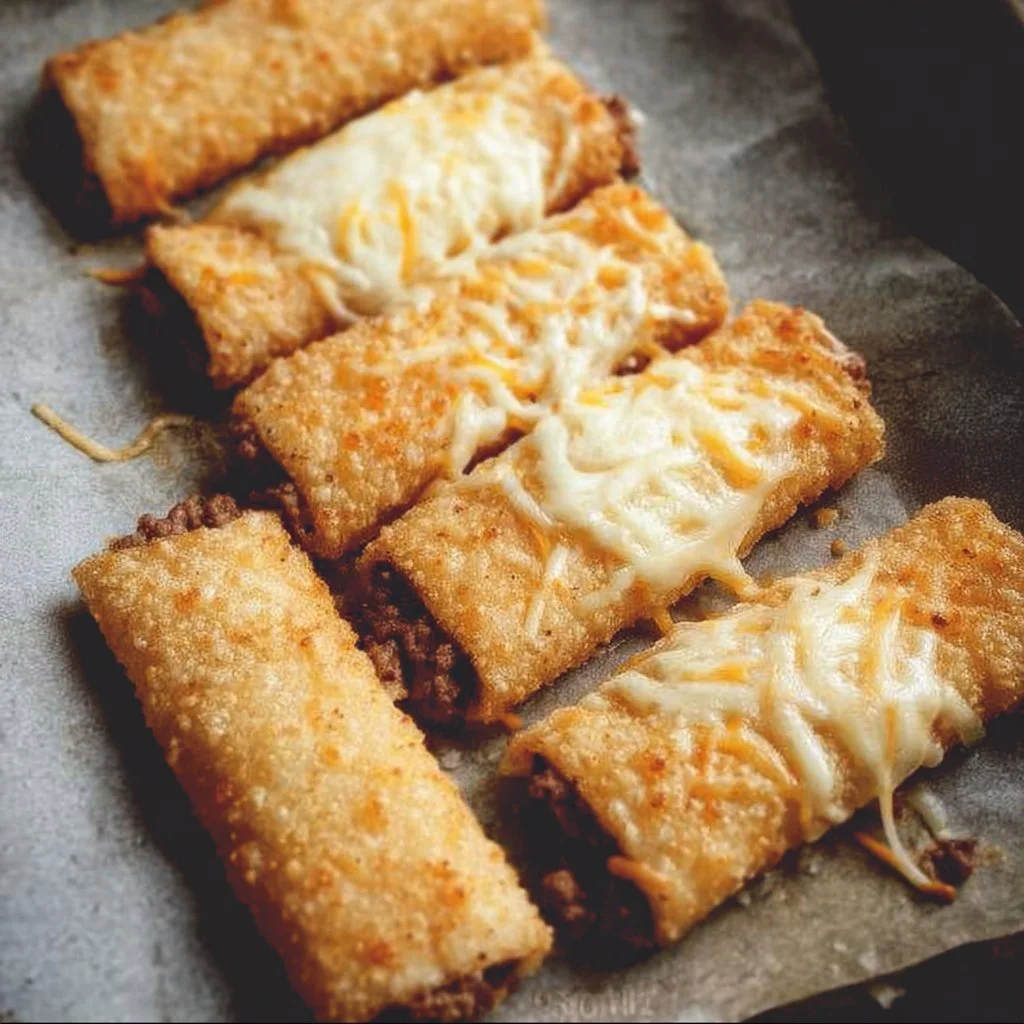
Cheesy Taco Sticks
Ever craved a bite of taco goodness wrapped in cheesy, flaky perfection?
These Cheesy Taco Sticks are not your average snack – they’re a game-changer! Quick to whip up and delicious enough to keep you coming back for more, they’re the perfect blend of savory beef, ooey-gooey cheese, and just the right crunch from crescent dough. Trust me, once you try these, you’ll want to make them on repeat!
Why make this recipe
Who wouldn’t want an easy and satisfying dinner? These Cheesy Taco Sticks come with a fun factor that makes cooking feel like a party, even if you’re just in your kitchen! Plus, cleanup is a breeze since they use just one baking sheet—your future self will thank you for that! And hey, they’re friendly for the whole family, giving even the pickiest eaters something to cheer about. 🍽️
Ingredients :
You don’t need fancy stuff — just these basics!
- 1 package of refrigerated crescent dough
- 1 cup cooked ground beef
- 1 packet taco seasoning
- 1 cup shredded cheese (cheddar or Mexican blend)
- 1/2 cup salsa
- Optional toppings: sour cream, guacamole, diced tomatoes, lettuce
Directions :
Follow these simple steps to put your taco cravings to rest:
- Preheat the oven according to the crescent dough package instructions.
- In a skillet, cook the ground beef until browned.
- Add the taco seasoning to the beef, mixing it well.
- Roll out the crescent dough and cut it into triangles.
- Spoon some of the beef mixture onto the wide end of each triangle, sprinkle with cheese, and add a bit of salsa.
- Roll up each triangle from the wide end to the point.
- Place the rolled sticks on a baking sheet and bake according to the package instructions until golden brown.
- Serve warm with optional toppings.
How to make Cheesy Taco Sticks (Overview)
Whipping up these Cheesy Taco Sticks is easier than you think! Start by browning your delicious beef and seasoning it to taco perfection. While that’s sizzling, roll out your crescent dough magic (seriously, you can’t go wrong with crescent rolls). Once everything is ready, it’s a simple assembly line—fill, roll, and bake! Pro tip: Make sure not to overfill those rolls; trust me, it’s a messy experience when they explode in the oven! 😄
How to serve Cheesy Taco Sticks
These Cheesy Taco Sticks shine brightest when served with your favorite toppings. Think vibrant sour cream, zesty guacamole, and a sprinkle of fresh diced tomatoes! The colorful mix and crunchy texture make for a feast not just for your taste buds but your eyes too. Plus, the aroma that fills the room as they bake? It’s an irresistible plus!
How to store Cheesy Taco Sticks
Want to save some for later? Great idea! These yummy sticks can last in the fridge for up to 3 days. Just make sure you have a good airtight container. If you want to keep them longer, freeze them for up to a month! When it’s time to munch, just pop them in the oven or microwave until heated through, and enjoy!
Tips to make Cheesy Taco Sticks
- Timing is everything: Don’t skimp on browning your beef properly; it adds that depth of flavor.
- Looking to cut down on calories? Swap ground beef for ground turkey or a plant-based option!
- Get creative with your cheese! Mix up different types (like pepper jack for a kick).
- Make mini taco sticks for smaller bites—perfect for game day snacking!
- For some extra crunch, brush the tops with butter before baking for a golden finish.
Variation
Feeling adventurous? Try a Tex-Mex twist by adding black beans or corn to your beef mixture. Want to keep it plant-based? Use lentils or mushrooms instead of beef and vegan cheese to make a delicious, cruelty-free version!
FAQs
Can I make these ahead of time?
Absolutely! Prepare and roll them, then refrigerate until you’re ready to bake.
What can I use instead of taco seasoning?
Feel free to create your blend using cumin, chili powder, garlic powder, and paprika.
Can I freeze Cheesy Taco Sticks?
Yes! Just roll and freeze them uncooked, then bake from frozen—just add extra baking time.
📌 Pin this recipe for your next cozy dinner night!
Cheesy Taco Sticks
Ingredients
Method
- Preheat the oven according to the crescent dough package instructions.
- In a skillet, cook the ground beef until browned.
- Add the taco seasoning to the beef, mixing it well.
- Roll out the crescent dough and cut it into triangles.
- Spoon some of the beef mixture onto the wide end of each triangle, sprinkle with cheese, and add a bit of salsa.
- Roll up each triangle from the wide end to the point.
- Place the rolled sticks on a baking sheet and bake according to the package instructions until golden brown.
- Serve warm with optional toppings.