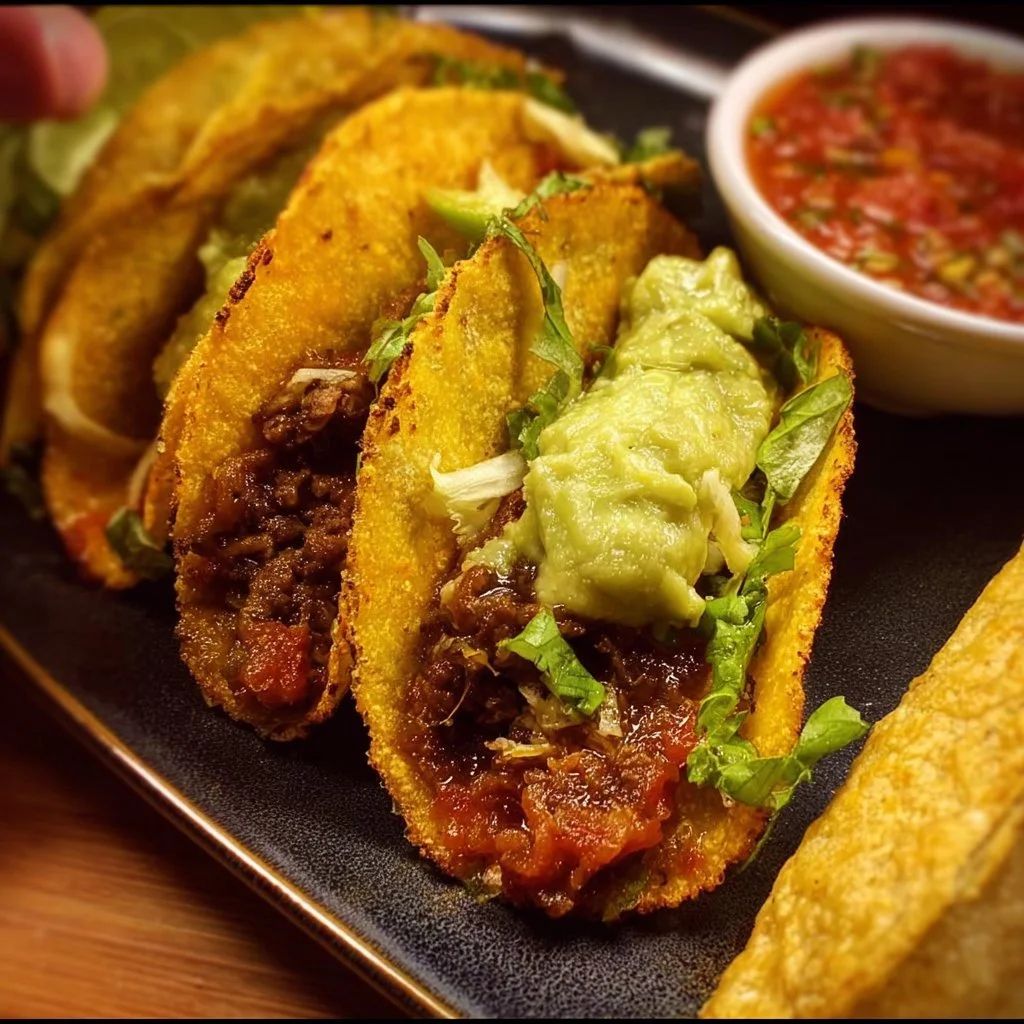
Crispy Beef Tacos
Why Make This Recipe
Crispy beef tacos are a fun and delicious meal that everyone loves. They are easy to make and can be ready in a short amount of time. Perfect for a weeknight dinner or a weekend gathering, these tacos are packed with flavor and can be customized to suit your taste. Plus, they are a great way to enjoy a classic dish with a twist!
How to Make Crispy Beef Tacos
Ingredients:
- Ground beef
- Shredded cheese
- Corn tortillas
- Taco seasoning
- Enchilada sauce
Directions:
- In a skillet over medium heat, cook the ground beef until browned. Drain excess fat.
- Add taco seasoning and a little water, stirring to combine.
- Warm the corn tortillas in a separate pan or microwave.
- Fill each tortilla with the seasoned beef and top with shredded cheese.
- Roll or fold the tortillas and then place them in a baking dish.
- Drizzle enchilada sauce over the top and sprinkle more cheese if desired.
- Bake in a preheated oven at 350°F (175°C) for 10-15 minutes until the cheese is melted and bubbly.
- Serve hot.
How to Serve Crispy Beef Tacos
Serve crispy beef tacos with your favorite toppings. Some great options include sour cream, salsa, guacamole, fresh chopped cilantro, diced tomatoes, and sliced jalapeños. You can also serve them with a side of rice or beans to create a complete meal.
How to Store Crispy Beef Tacos
If you have leftovers, store them in an airtight container in the refrigerator. They will stay good for up to three days. Reheat in the oven or microwave before serving again.
Tips to Make Crispy Beef Tacos
- Make sure to drain the fat from the beef to keep the tacos from being greasy.
- Don’t overfill the tortillas to avoid spills while baking.
- For extra crunch, bake the tacos for a few minutes longer until they are crispy.
- Feel free to add your favorite veggies like lettuce, peppers, or onions for added flavor and nutrition.
Variation
You can easily switch up the protein in this recipe. Try using ground turkey, chicken, or even a meat alternative for a vegetarian version. You can also change the cheese to match your preference, using cheddar, Monterey Jack, or a blend.
FAQs
Can I make these tacos ahead of time?
Yes, you can prepare the beef and assemble the tacos ahead of time. Just bake them right before serving.
Can I freeze crispy beef tacos?
Yes, you can freeze them before baking. Wrap them tightly and store in the freezer for up to 2 months. Bake from frozen, adding extra time if needed.
What sides go well with crispy beef tacos?
Some great sides include Mexican rice, refried beans, guacamole, and a fresh salad.

Crispy Beef Tacos
Ingredients
Method
- In a skillet over medium heat, cook the ground beef until browned. Drain excess fat.
- Add taco seasoning and a little water, stirring to combine.
- Warm the corn tortillas in a separate pan or microwave.
- Fill each tortilla with the seasoned beef and top with shredded cheese.
- Roll or fold the tortillas and place them in a baking dish.
- Drizzle enchilada sauce over the top and sprinkle more cheese if desired.
- Bake in a preheated oven at 350°F (175°C) for 10-15 minutes until the cheese is melted and bubbly.
- Serve hot.